I’ve seen gearboxes opened twice for the same leak, pumps repaired again after one shift, and bearing housings blamed on “bad rubber” when the real problem was much simpler: the shaft seal was installed in the wrong direction.
A shaft seal may look like a small rubber part, but its direction decides whether oil stays inside, dust stays outside, and the shaft survives. Install it backwards, press it unevenly, run the lip dry, or fit it onto a worn shaft groove, and even a good oil seal will fail early.
This guide explains which way a shaft seal goes, how to identify the correct oil seal direction, and what installation details buyers, maintenance teams, and engineers should check before assembly.
Quick Answer: Which Way Does a Shaft Seal Go?
For most standard oil seals:
The spring side and main sealing lip face the oil, grease, fluid, or pressure side. The flat side usually faces outward.
A simple rule:
The spring side faces the medium you want to keep inside.
For example, in a gearbox, the spring side faces the gear oil. In a bearing housing, it faces the grease. In a pump or hydraulic application, the main lip normally faces the fluid or pressure side.
But don’t use this rule blindly. Double-lip oil seals, cassette seals, directional seals, and pressure-resistant shaft seals may have special installation requirements.
Why Oil Seal Direction Matters
An oil seal is designed to work from a specific side. The sealing lip needs correct contact pressure against the rotating shaft. If the seal is installed backwards, the lip may not hold lubricant properly or resist pressure correctly.
Wrong shaft seal direction can cause:
- Oil or grease leakage
- Dust, water, or mud entering the equipment
- Premature lip wear
- Shaft scoring or groove formation
- Bearing failure
- Gearbox damage
- Pump leakage
- Higher maintenance cost and downtime
This is not just an installation detail. In rotating equipment, one wrong oil seal direction can turn a low-cost repair into a full equipment failure.
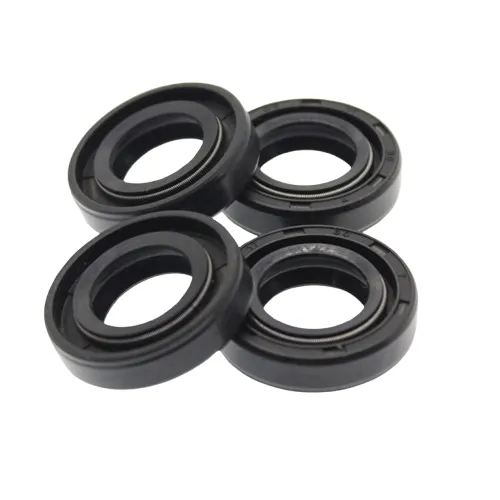
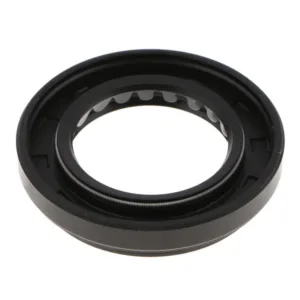
What Is a Shaft Seal?
A shaft seal, also called an oil seal, rotary shaft seal, or radial lip seal, seals the gap between a rotating shaft and a stationary housing.
Its main functions are:
- Retain oil or grease
- Prevent dust, mud, water, and abrasive particles from entering
- Protect bearings, gears, pumps, motors, and rotating parts
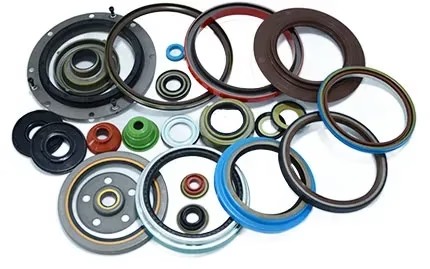
Shaft seals are widely used in:
- Gearboxes
- Pumps
- Electric motors
- Bearing housings
- Hydraulic systems
- Agricultural machinery
- Automotive parts
- Construction machinery
- Industrial equipment
Most oil seals include a rubber sealing element, metal case, main sealing lip, and sometimes a garter spring. The correct installation direction depends on the lip structure, spring position, pressure side, dust lip, shaft rotation, and working environment.
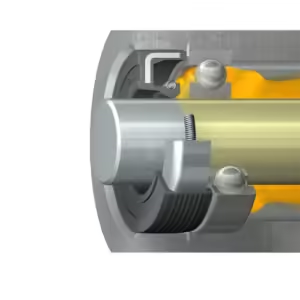
Basic Oil Seal Structure
Before deciding the correct oil seal direction, you need to recognize the key parts.
Main Sealing Lip
The main sealing lip contacts the rotating shaft and forms the primary sealing line. It is usually designed to face the lubricant or pressure side.
Garter Spring
The garter spring provides continuous radial force to the sealing lip. It helps the lip maintain stable contact with the shaft during operation.
For most standard rotary oil seals, the spring side is the easiest visual clue for direction.
Metal Case
The metal case supports the seal and helps it fit tightly inside the housing bore. If the seal is pressed unevenly, the case may deform and cause leakage.
Rubber Outer Diameter
A rubber-coated outside diameter improves static sealing between the seal and housing, especially when the bore has minor surface imperfections.
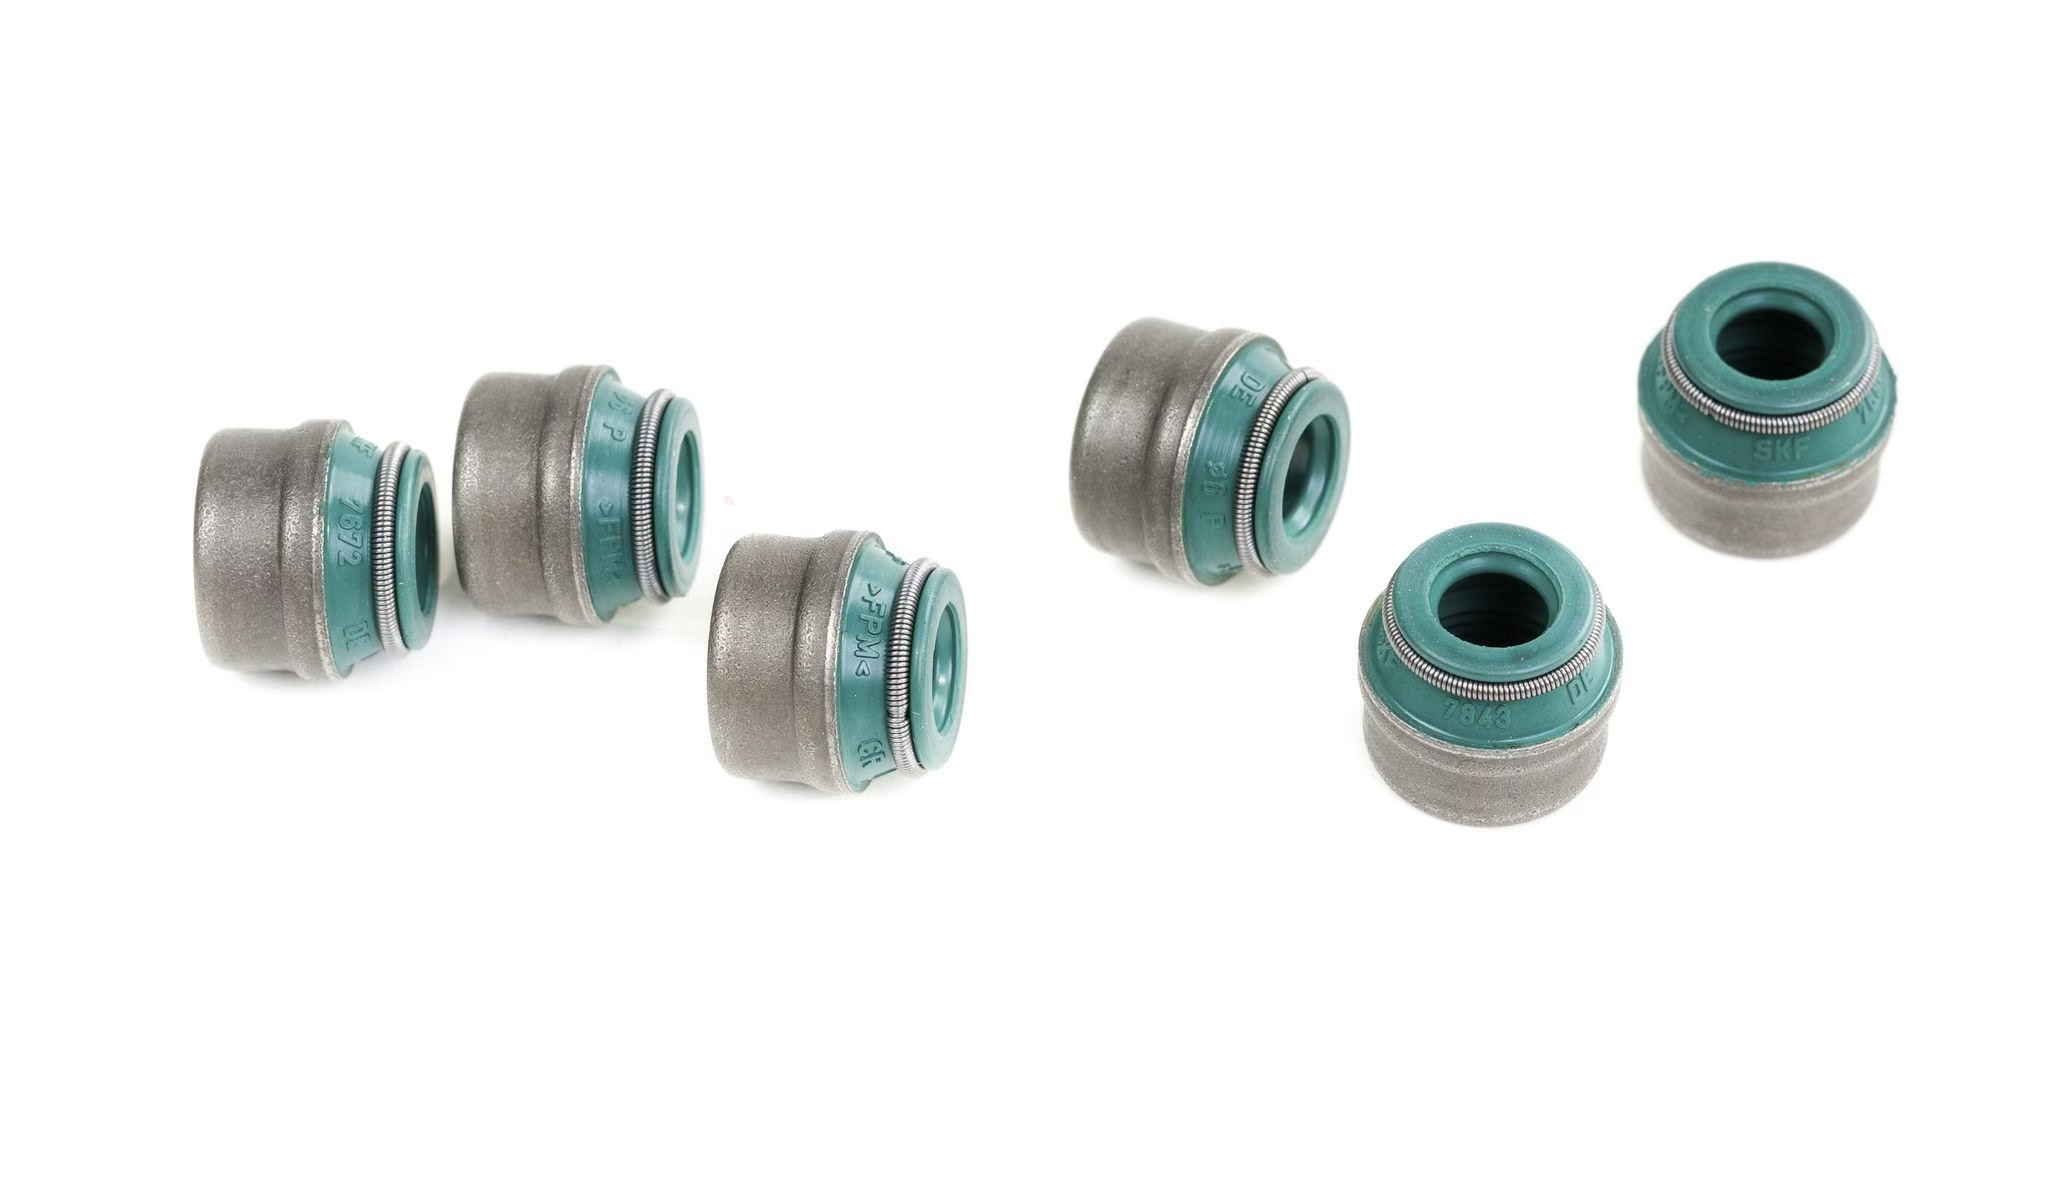
Dust Lip
The dust lip is an auxiliary lip used to block dust, water, mud, or external contaminants. In double-lip oil seals, the dust lip normally faces outward.
Oil Seal Direction Reference Table
| Application | Main Purpose | Correct Direction | Engineer’s Note |
|---|---|---|---|
| Gearbox | Retain gear oil | Spring side faces oil | Most common oil seal direction |
| Bearing housing | Retain grease | Spring side faces grease | Check dust and moisture exposure |
| Pump | Seal fluid side | Main lip faces fluid | Confirm rubber compatibility |
| Hydraulic system | Seal pressure | Lip faces pressure side | Standard oil seals may not be enough |
| Electric motor | Protect bearing lubricant | Main lip faces lubricant | Low-friction design may be required |
| Dusty machinery | Block dust and mud | Dust lip faces outside | Double-lip or cassette seal recommended |
| Agricultural machinery | Block mud, water, dust | Dust lip outward, main lip inward | Heavy-duty seal design is safer |
| Double-lip seal | Retain oil and block dust | Main lip inward, dust lip outward | Common in dirty environments |
| Cassette seal | Multi-stage sealing | Follow product drawing | Do not guess direction |
This table is useful for maintenance teams and buyers because it connects seal direction with real working conditions, not just theory.
How to Identify the Correct Side of an Oil Seal
1. Look for the Garter Spring
The side where the spring is visible is usually the sealing side. For standard oil seals, this side normally faces the lubricant or pressure area.
2. Check the Main Sealing Lip
The main lip usually points toward the side it is designed to seal. If the seal is used to retain oil, the lip should face the oil side. If it is used in a pressure application, the lip should face pressure.
3. Check the Dust Lip
If the seal has a secondary dust lip, that lip should normally face outward toward dust, mud, water, or air.
Many installation mistakes happen because people confuse the dust lip with the main sealing lip. I’ve seen this more than once, especially with double-lip seals used on agricultural and construction machinery.
4. Confirm the Pressure Side
Pressure changes everything. If the system has continuous pressure, pressure fluctuation, or hydraulic pressure, a standard TC oil seal may fail quickly.
The lip must face the correct pressure direction, and the seal structure must be suitable for that pressure.
5. Review the Seal Drawing
For customized shaft seals, cassette seals, directional hydrodynamic seals, combination seals, and pressure-resistant oil seals, the manufacturer drawing should be the final reference.
Do not guess. Guessing is how repeat leakage happens.
Do Not Judge Only by the Flat Side
Many mechanics use the rule: flat side out, spring side in.
For many standard oil seals, that works. But it is not enough for every seal.
Special seal designs may have different structures, including:
- Cassette seals
- Directional hydrodynamic oil seals
- Pressure-resistant shaft seals
- Dual-lip or opposed-lip seals
- PTFE rotary shaft seals
- Customized rubber seals
The correct direction should be confirmed by:
- Main sealing lip direction
- Garter spring position
- Pressure side
- Dust lip design
- Shaft rotation direction
- Manufacturer drawing
This matters more in industrial equipment, where one leakage failure can stop production and create unnecessary downtime.
Single-Lip vs Double-Lip Shaft Seal Direction
Single-Lip Oil Seal
A single-lip oil seal is mainly designed to retain oil or grease. It is common in gearboxes, motors, pumps, and general bearing housings.
It is suitable when the environment is relatively clean and there is no serious dust, mud, or washdown exposure.
Double-Lip Oil Seal
A double-lip oil seal has one main sealing lip and one auxiliary dust lip.
The main lip handles lubricant retention. The dust lip blocks external contamination.
This design is better for dirty, wet, or dusty environments.
Dual Opposed Lip Seal
Some special shaft seals use two lips facing opposite directions. This helps retain lubricant while blocking external contamination at the same time.
They are often used in:
- Agricultural machinery
- Outdoor equipment
- Construction machinery
- Dust-heavy industrial equipment
- Muddy shaft applications
Cassette Seal
Cassette seals are integrated sealing units with multiple sealing lips and internal running surfaces. They are common in heavy-duty machinery.
Cassette seals cost more than standard oil seals, but in muddy or abrasive environments, they often reduce total maintenance cost. A cheap single-lip seal that fails every few weeks is not cheap anymore.
Standard Oil Seals Are Not High-Pressure Seals
This is one of the most common buyer mistakes.
A standard rotary shaft oil seal is mainly designed for lubricant retention, not high-pressure sealing.
If a standard TC oil seal is used in a pressure application, it may:
- Leak
- Roll over at the lip
- Generate excessive heat
- Wear quickly
- Damage the shaft
- Lose the spring
For pressurized systems, you may need:
- Pressure-resistant lip design
- Reinforced seal structure
- Backup ring or support
- PTFE sealing lip
- Special rubber material
- Mechanical seal
- Customized sealing solution
My practical advice is simple: do not select a standard TC oil seal just because the size matches. Size matching does not mean application matching.
Technical Factors That Affect Shaft Seal Performance
Pressure Direction
The main sealing lip must work against the correct pressure side. If the pressure comes from the wrong direction, the lip may open instead of sealing tighter.
Shaft Speed
Higher shaft speed increases friction and heat at the sealing lip. A seal that works well at low speed may fail early at high speed.
For high-speed shafts, consider low-friction lip design, correct lubrication, shaft finish, and heat-resistant material.
Operating Temperature
Temperature directly affects rubber aging, hardness, elasticity, and service life.
| Material | Typical Temperature Range | Main Advantage | Limitation |
|---|---|---|---|
| NBR | -30°C to 100°C | Cost-effective, good oil and grease resistance | Not ideal for high heat, ozone, or strong chemicals |
| FKM | -20°C to 200°C | Excellent heat, oil, fuel, and chemical resistance | Higher cost than NBR |
| Silicone | -50°C to 200°C | Good low-temperature flexibility and heat resistance | Poor wear and tear resistance |
| EPDM | -40°C to 150°C | Good water, steam, ozone, and weather resistance | Not suitable for mineral oil |
| PTFE | Wide temperature range | Low friction, strong chemical resistance | Higher cost, special installation needed |
If your gearbox runs hot every day, basic NBR may not survive. In that case, FKM is not “expensive”; it is the correct material.
Fluid or Lubricant Type
Different media require different rubber materials.
| Media Type | Common Material Choice | Warning |
|---|---|---|
| Mineral oil | NBR, FKM | Check temperature and additives |
| Grease | NBR, FKM | Confirm speed and lip lubrication |
| Fuel | FKM | NBR may not be enough in demanding fuel applications |
| Water or steam | EPDM | EPDM is poor with petroleum oil |
| Chemicals | FKM, PTFE, sometimes EPDM | Compatibility must be confirmed |
| Hydraulic fluid | NBR, FKM, PTFE depending on fluid | Pressure must be checked |
A seal can be the correct size and still fail if the material is wrong.
External Contamination
Dust, sand, mud, and water change the sealing requirement.
In a clean indoor gearbox, a standard oil seal may be enough. In agricultural machinery, mining equipment, or construction machinery, a single-lip seal may be too weak.
For heavy contamination, consider:
- Double-lip oil seal
- Triple-lip seal
- Cassette seal
- Heavy-duty rubber seal
- Shaft sleeve protection
Shaft Surface Condition
The shaft surface must be suitable for sealing. Too rough, and it wears the lip. Too polished, and it may not hold a proper oil film.
Common shaft problems include:
- Scratches
- Rust
- Burrs
- Old wear grooves
- Sharp shoulders
- Poor surface finish
- Excessive runout
Many people replace the seal three times without checking the shaft. That is not maintenance; that is guessing.
Installation Depth
Installing the seal too shallow or too deep may place the lip on a damaged shaft area.
If the shaft has an old groove, you may need to:
- Adjust the seal position
- Use a wear sleeve
- Repair the shaft
- Replace the shaft
- Change the seal design
A new oil seal running on an old groove often leaks again.
Step-by-Step Oil Seal Installation Guide
Step 1: Confirm the Seal Specification
Before installation, check:
- Shaft diameter
- Housing bore diameter
- Seal width
- Lip type
- Rubber material
- Spring material
- Working temperature
- Shaft speed
- Pressure
- Fluid type
- Contamination level
For purchasing, sending only a size like “35 × 52 × 7” is not enough for reliable selection. That tells the supplier the dimension, not the working condition.
Step 2: Inspect the Shaft and Housing
The shaft and housing bore must be clean and free from:
- Burrs
- Rust
- Scratches
- Dents
- Sharp edges
- Machining debris
- Old seal residue
Do not install a new oil seal into a dirty bore and expect stable sealing performance.
Step 3: Confirm the Installation Direction
Before pressing the seal, identify:
- Spring side
- Main lip
- Dust lip
- Pressure side
- Lubricant side
- External contamination side
This check takes less than a minute. Repairing a leak caused by wrong direction takes much longer.
Step 4: Lubricate the Sealing Lip
Apply clean oil or compatible grease to the sealing lip before installation.
Dry installation can damage the lip during the first rotation. This is a simple mistake, but it causes real failures.
Step 5: Use the Correct Installation Tool
Use a flat press tool or installation sleeve that contacts the seal evenly.
Do not hammer directly on the rubber lip, spring area, or one side of the metal case.
Step 6: Press the Seal Evenly
The seal must enter the housing straight.
A tilted seal can cause:
- Outer diameter damage
- Lip deformation
- Unstable contact pressure
- Immediate leakage
Step 7: Protect the Lip from Sharp Edges
If the shaft has threads, splines, keyways, grooves, or sharp shoulders, use a protective sleeve.
One small cut on the sealing lip is enough to create leakage.
Step 8: Check the Final Position
After installation, confirm:
- Seal is seated at the correct depth
- Seal is not tilted
- Spring is still in place
- Lip contacts the correct shaft area
- Dust lip faces the contamination side
- Main lip faces the sealing side
Do this before running the machine. Once leakage starts, the damage may already be done.
Common Oil Seal Installation Mistakes
Installing the Seal Backwards
This is one of the most common causes of oil seal leakage. The seal may look properly installed, but the lip is working against the wrong side.
Installing the Seal Dry
A dry sealing lip can overheat during initial operation. Always lubricate the lip with compatible oil or grease.
Damaging the Lip During Assembly
Threads, splines, keyways, and sharp shaft edges can cut the lip. Use an installation sleeve when needed.
Pressing the Seal Unevenly
Uneven installation can deform the metal case and create an unstable sealing line.
Ignoring Shaft Wear
A new seal cannot fix a damaged shaft. If the shaft has a groove, leakage may return quickly.
Using the Wrong Seal for Pressure
A standard oil seal is not suitable for every pressurized system. Pressure-resistant designs exist for a reason.
Choosing Only by Price
Cheap seals are acceptable in clean, low-risk applications. But in high-temperature, abrasive, muddy, chemical, or pressurized applications, the cheapest seal often creates the highest repair cost.
Cost vs Performance: How Buyers Should Choose
| Working Condition | Lower-Cost Option | Higher-Grade Option | Practical Recommendation |
|---|---|---|---|
| Clean gearbox, normal oil, moderate temperature | NBR single-lip seal | NBR double-lip seal | Low-cost option is usually acceptable |
| High-temperature gearbox | NBR | FKM | Use FKM for repeated or continuous heat |
| Dusty bearing housing | Single-lip NBR | Double-lip NBR/FKM | Add dust protection if contamination exists |
| Muddy agricultural shaft | Standard oil seal | Double-lip or cassette seal | Heavy-duty design reduces repeat failures |
| Chemical fluid | NBR, EPDM, or FKM depending on media | PTFE or special compound | Confirm compatibility before purchase |
| Hydraulic pressure | Standard TC seal | Pressure-resistant seal or PTFE seal | Standard oil seal is risky |
| High-speed shaft | Standard rubber lip | Low-friction FKM/PTFE design | Friction heat decides service life |
| Worn shaft | New oil seal | Wear sleeve or shaft repair | Seal replacement alone may not work |
The right seal is not always the most expensive one. The right seal is the one that matches the real operating condition.
For clean and moderate applications, NBR can be the best value. For heat, pressure, chemicals, mud, or abrasive dust, a higher-grade seal usually saves money over the full service life.
Why Some Oil Seal Leaks Are Not Material Problems
When a seal leaks, the rubber material often gets blamed first.
Sometimes the material is wrong. But many failures come from other causes:
- Wrong installation direction
- Dry installation
- Scratched shaft
- Worn shaft groove
- Wrong housing tolerance
- Excessive pressure
- Shaft runout
- Wrong lip design
- Poor installation tool
- Spring displaced during assembly
- Wrong installation depth
I’ve found this pattern many times: the buyer changes supplier, changes material, and changes price level, but the leak remains because nobody checked the shaft or installation method.
A good seal installed badly is still a bad sealing system.
Real Application Examples
Gearbox Oil Seal Leaked Again After Replacement
A gearbox output shaft seal was replaced because of oil leakage. The new seal leaked again after a few days.
Inspection found two problems:
- The seal direction was wrong
- The shaft had an old wear groove
Correct solution:
- Install the seal in the correct direction
- Move the seal contact position or use a wear sleeve
- Lubricate the lip before installation
- Check the shaft surface before assembly
Replacing the same seal again would not solve the real problem.
Agricultural Machine Shaft Exposed to Mud
A standard single-lip oil seal was used on a shaft exposed to mud, water, and dust. The seal failed quickly.
The problem was not only rubber quality. The structure was too weak for the environment.
Better solution:
- Use a double-lip or cassette seal
- Let the dust lip face the contamination side
- Protect the shaft from abrasive wear
- Consider a heavy-duty sealing design
In muddy equipment, contamination exclusion is just as important as lubricant retention.
Pump Seal Used With Chemical Fluid
A buyer selected an oil seal only by size. After contact with chemical fluid, the seal swelled and leaked.
Correct approach:
- Confirm fluid type
- Check rubber compatibility
- Choose FKM, EPDM, PTFE, or another suitable material
- Confirm pressure, temperature, and shaft speed
Size is only the starting point. Material compatibility decides whether the seal survives.
Buyer’s Checklist Before Ordering Shaft Seals
Before sending an inquiry, prepare these details:
| Required Information | Why It Matters |
|---|---|
| Shaft diameter | Determines inner lip fit |
| Housing bore diameter | Determines outside diameter fit |
| Seal width | Confirms installation space |
| Oil, grease, or fluid type | Determines material compatibility |
| Working temperature | Determines rubber grade |
| Shaft speed | Affects friction and heat |
| Working pressure | Determines seal structure |
| Dust, mud, or water exposure | Determines lip design |
| Shaft condition | Prevents repeat leakage |
| Installation direction | Prevents reverse installation |
| Application industry | Helps choose realistic sealing solution |
A serious seal supplier should ask for more than size. If nobody asks about pressure, temperature, speed, fluid, or contamination, you are only buying dimensions, not a sealing solution.
Related Internal Links to Add
- NBR vs FKM Oil Seals: Which Material Should You Choose?
- Common Oil Seal Failure Causes and How to Prevent Leakage
- Custom Rubber Oil Seals for Industrial Equipment
- Rubber Sealing Solutions for Gearboxes, Pumps, and Bearings
Frequently Asked Questions About Oil Seal Direction
Does the Spring Side of an Oil Seal Face In or Out?
In most standard applications, the spring side faces inward toward the oil, grease, fluid, or pressure side.
Which Side of the Oil Seal Faces the Oil?
The side with the garter spring and main sealing lip usually faces the oil.
Can an Oil Seal Be Installed Backwards?
Yes. But unless the application specifically requires reverse installation, a backwards oil seal may cause leakage, contamination ingress, lip wear, shaft damage, or equipment failure.
Which Way Should a Double-Lip Oil Seal Face?
The main lip faces inward toward the lubricant. The dust lip faces outward toward dust, mud, water, or air.
Should I Grease an Oil Seal Before Installation?
Yes. The sealing lip should be lubricated with clean oil or compatible grease before installation. Dry installation is a common cause of early lip damage.
Is the Flat Side Always Outward?
Not always. For many standard oil seals, the flat side faces outward. But special seals must be installed according to lip structure, pressure direction, and manufacturer drawing.
Can a Standard Oil Seal Handle Pressure?
Only limited pressure in some applications. A standard rotary shaft oil seal is not a true high-pressure seal. Continuous pressure may require a pressure-resistant seal, backup support, PTFE seal, or mechanical seal.
Final Practical Advice Before You Install or Buy
For most standard shaft seals, the correct direction is simple: the spring side and main sealing lip face the oil, grease, fluid, or pressure side.
But before installation, check more than direction. Check the shaft surface, old wear groove, pressure, temperature, fluid type, dust exposure, lip structure, and installation depth.
Many oil seal leaks are not caused by bad rubber. They are caused by wrong direction, poor installation, damaged shafts, or using a standard oil seal where a pressure-resistant or heavy-duty seal is required.
If you are selecting shaft seals for gearboxes, pumps, motors, bearings, agricultural machinery, or industrial equipment, send the working conditions before placing the order. At DRO Rubber Seals, we can help match the right oil seal structure, rubber material, lip design, and installation direction for your application.
Website: drorubber.com
WhatsApp: +0086 15815831911
WeChat: +0086 13784044874